
DIY A Simple Bedframe with Joana Bianchi
[ad_1]
Building a bedframe might be easier than you think! DIY influencer Joana Bianchi upgraded her bedroom by building her own bedframe with the help of our Simpson Strong-Tie connectors. This classic and sturdy bedframe helps refresh any bedroom without breaking the bank.
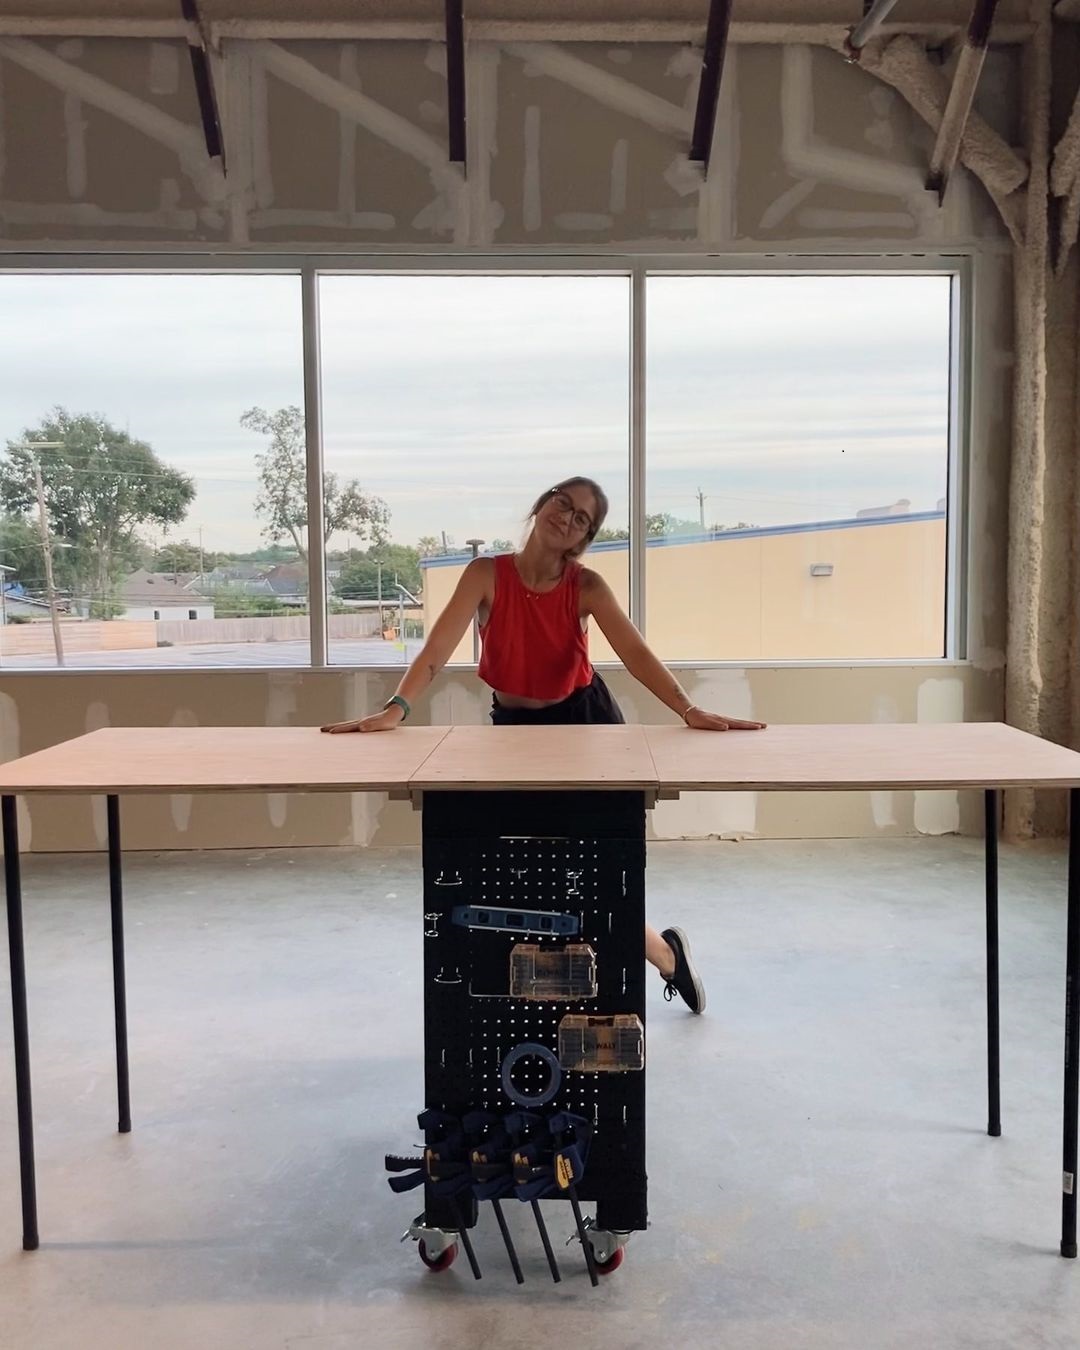
A few months ago, I was gifted the WBSK workbench and shelving kit from Simpson Strong-Tie to build my mobile workbench. Because I saw how sturdy those connections were, I have been thinking about using the same corner connectors to build a simple DIY bed ever since. So, when Simpson Strong-Tie reached out to work together on some projects, YOU BET this was the first one I suggested.
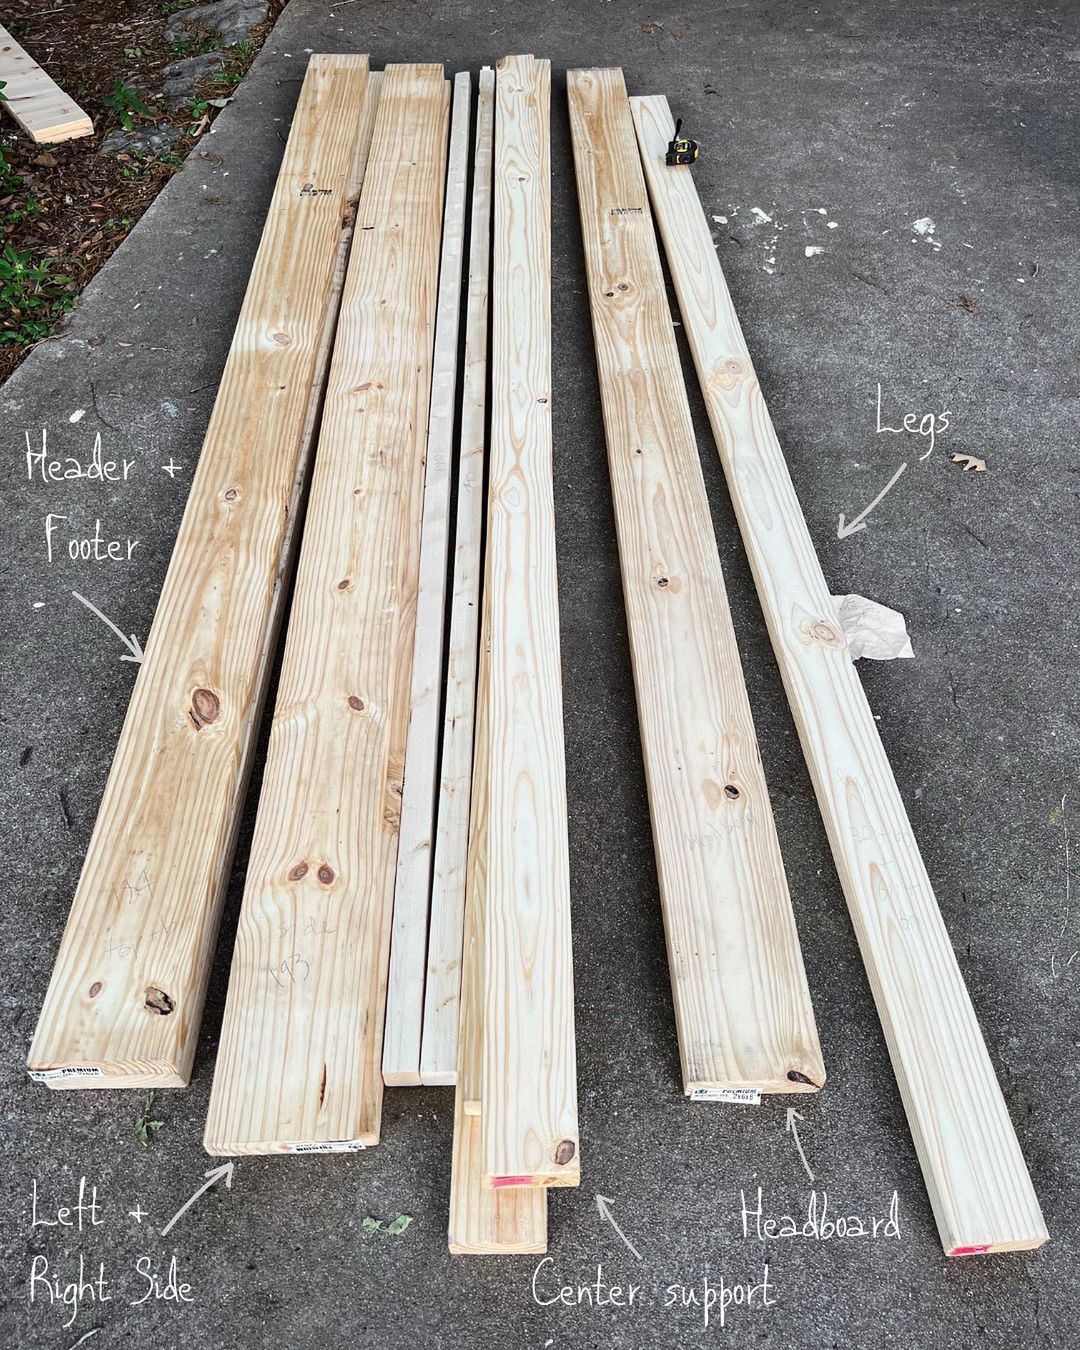
I started by sketching a design to help me figure out a cut list. Once I picked up the lumber, I cut all the pieces to size. The side rails need to be the length of the mattress and the header and footer the width of the mattress plus 3” to accommodate for the lumber. Be sure to leave some margin for the mattress to slide (I left an extra inch all around). The legs will depend on how high you like your bed. These are 14” , or 28” for the headboard. To make the bed look fancier, I also tapered the legs.

After cutting, I sanded with 80 and 120 grit and applied wood conditioner with a rag. Followed by more sanding with 120 grit and then stain and poly (the color is canyon brown, and I love its golden tone!).
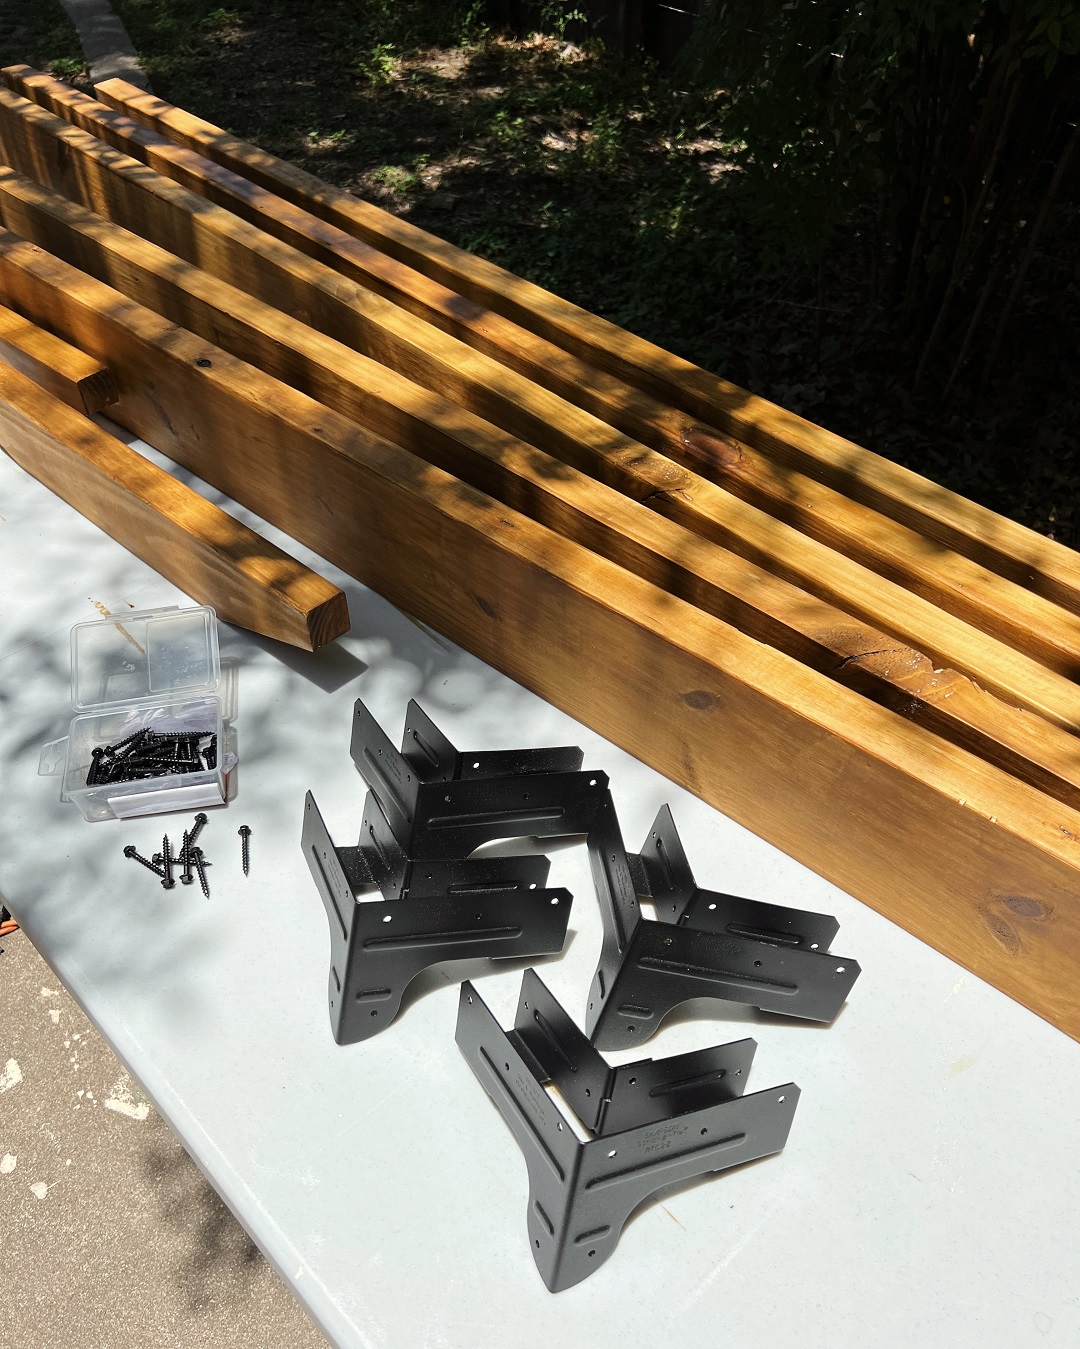
Time for magic with Simpson Strong-Tie connectors and screws. I used the Outdoor Accents®® APRTC2 Rigid Tie® Corner Connector for this build. These connectors are the only thing holding the legs and rails together, and they are very sturdy. This connector also makes assembly so easy.
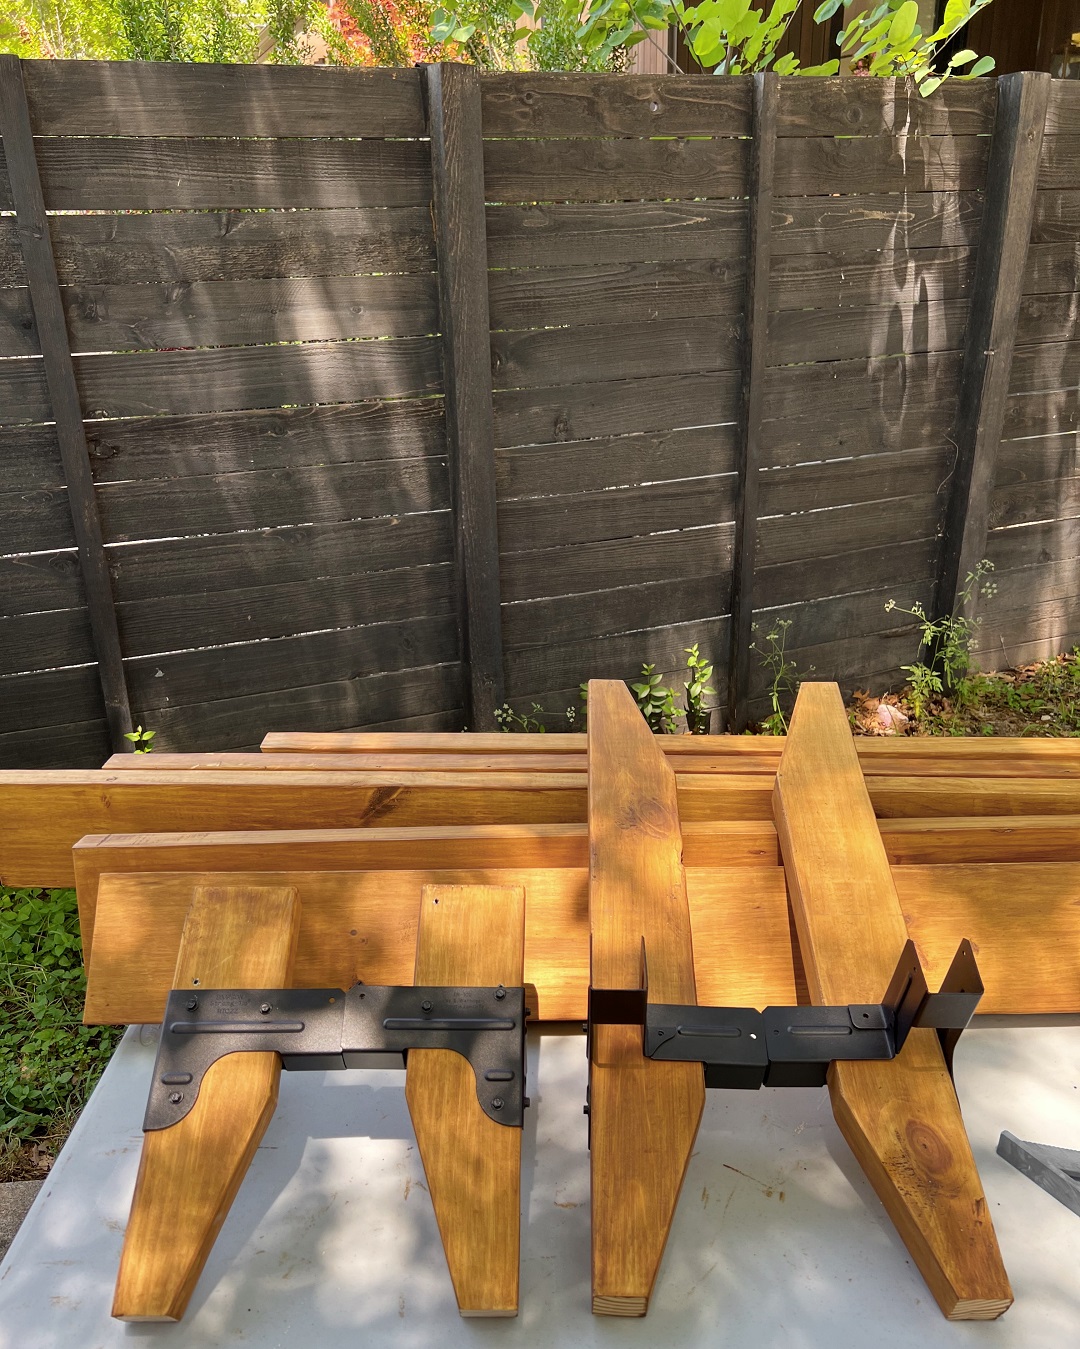
All you have to do is attach the legs first and then connect Also, the Outdoor Accents powder–coated screws really make it look very cohesive and do not require predrilling. I love them!

For the center supports, I used these Simpson Strong-Tie LU Light Face-Mount Joist Hangers. It’s easier to attach them before assembly to the header and footer at the same time, to make sure Since this is a king–size bed, I added three support beams. You can also see the Simpson Strong Tie APRTC Rigid Tie® Corner Connector connecting the corners of the bed frame together as well.
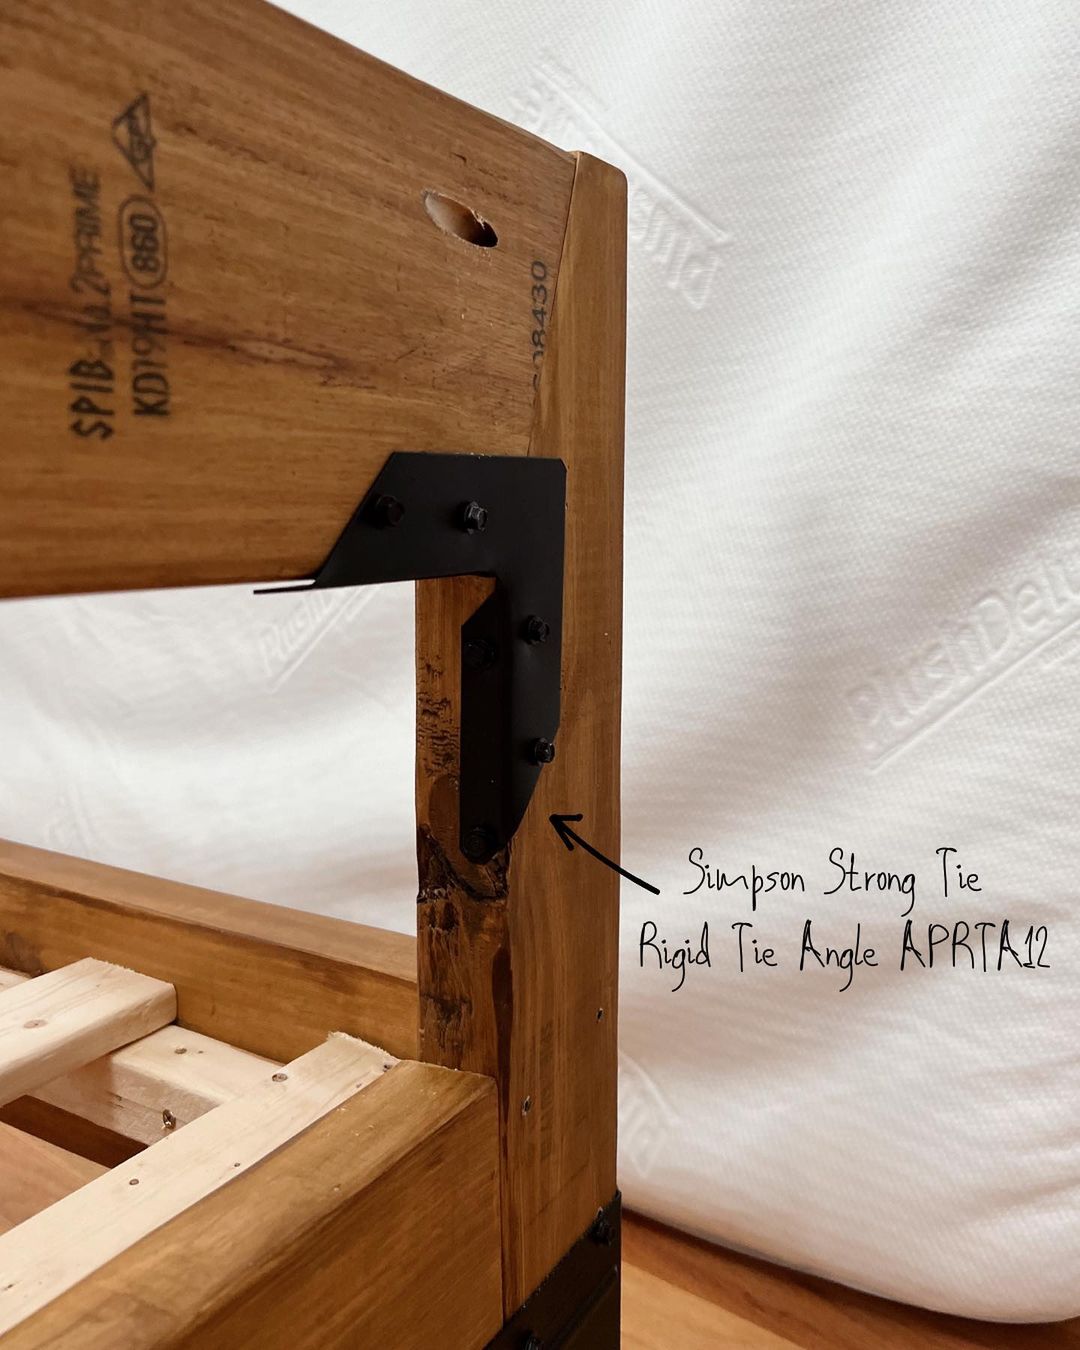
After the main structure was assembled, I used the Simpson Strong-Tie APRTA Rigid Tie® Angle to hold the header board and give it a nice detail.
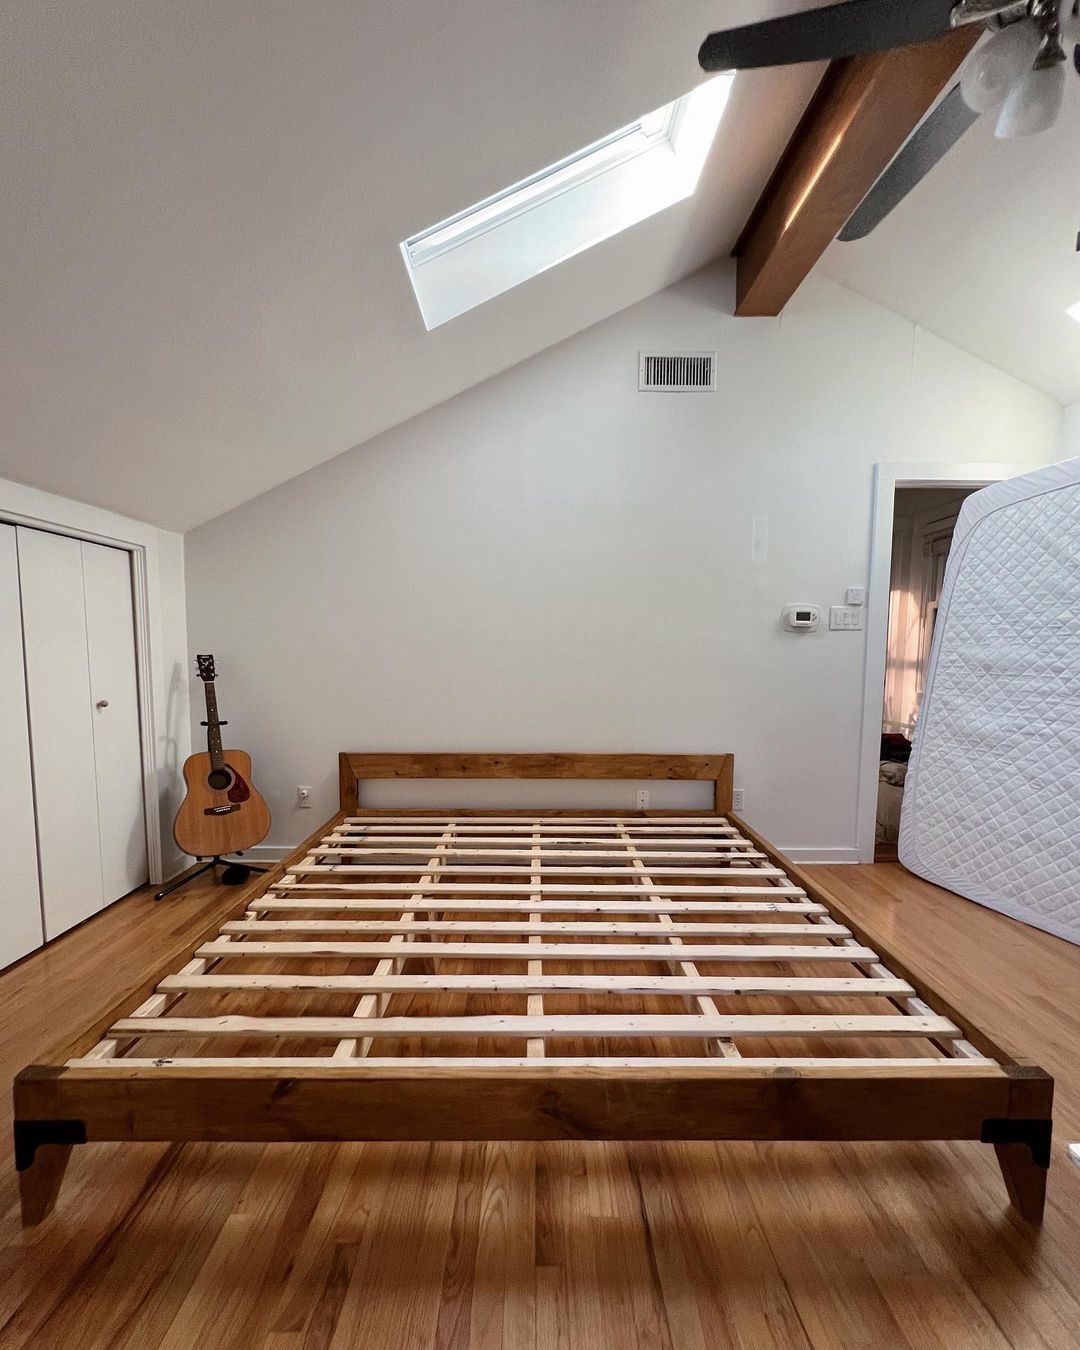
And the last thing was to add the lateral support for the slats and attach the slats to the top of the supports.
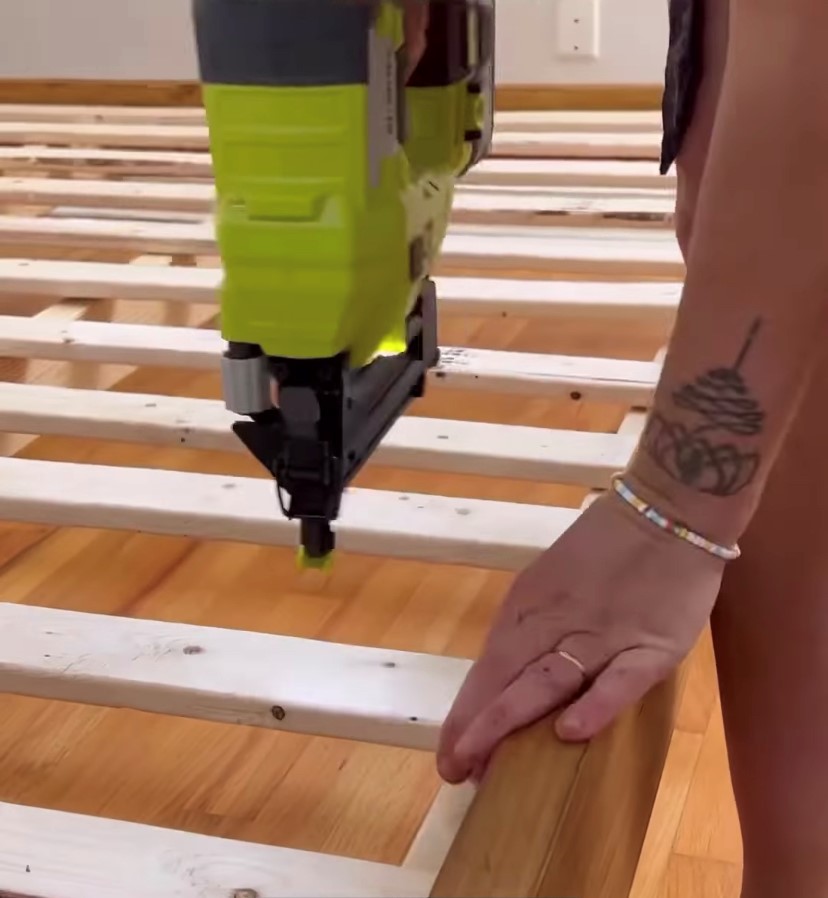
I love the brad nailer I used for this project. I also added two extra feet in the middle of the bed to make sure it was sturdy because it’s very wide!
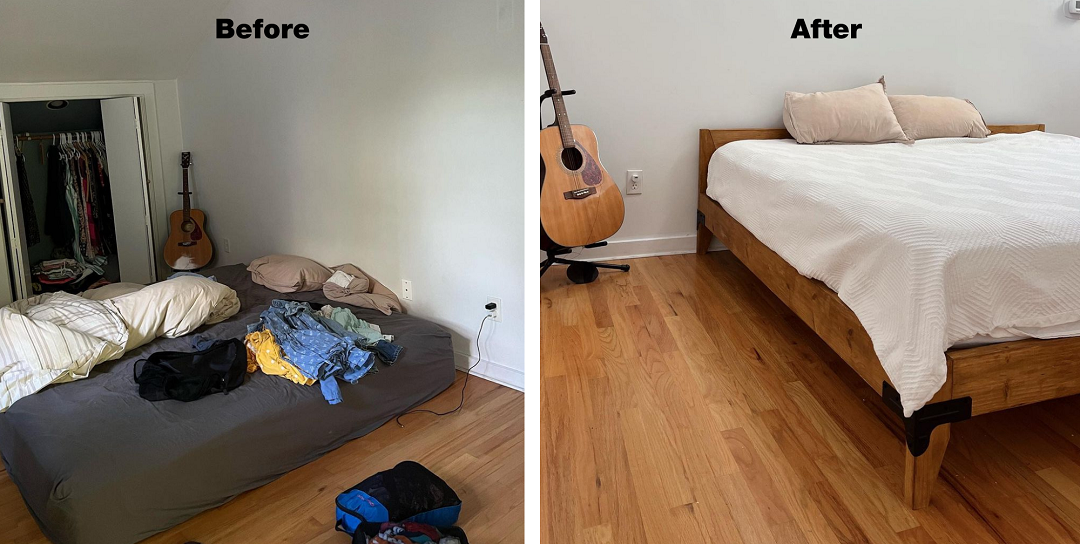
The truth is I wasn’t sure how it would all look until I assembled it, but I was SO HAPPY with the end result.
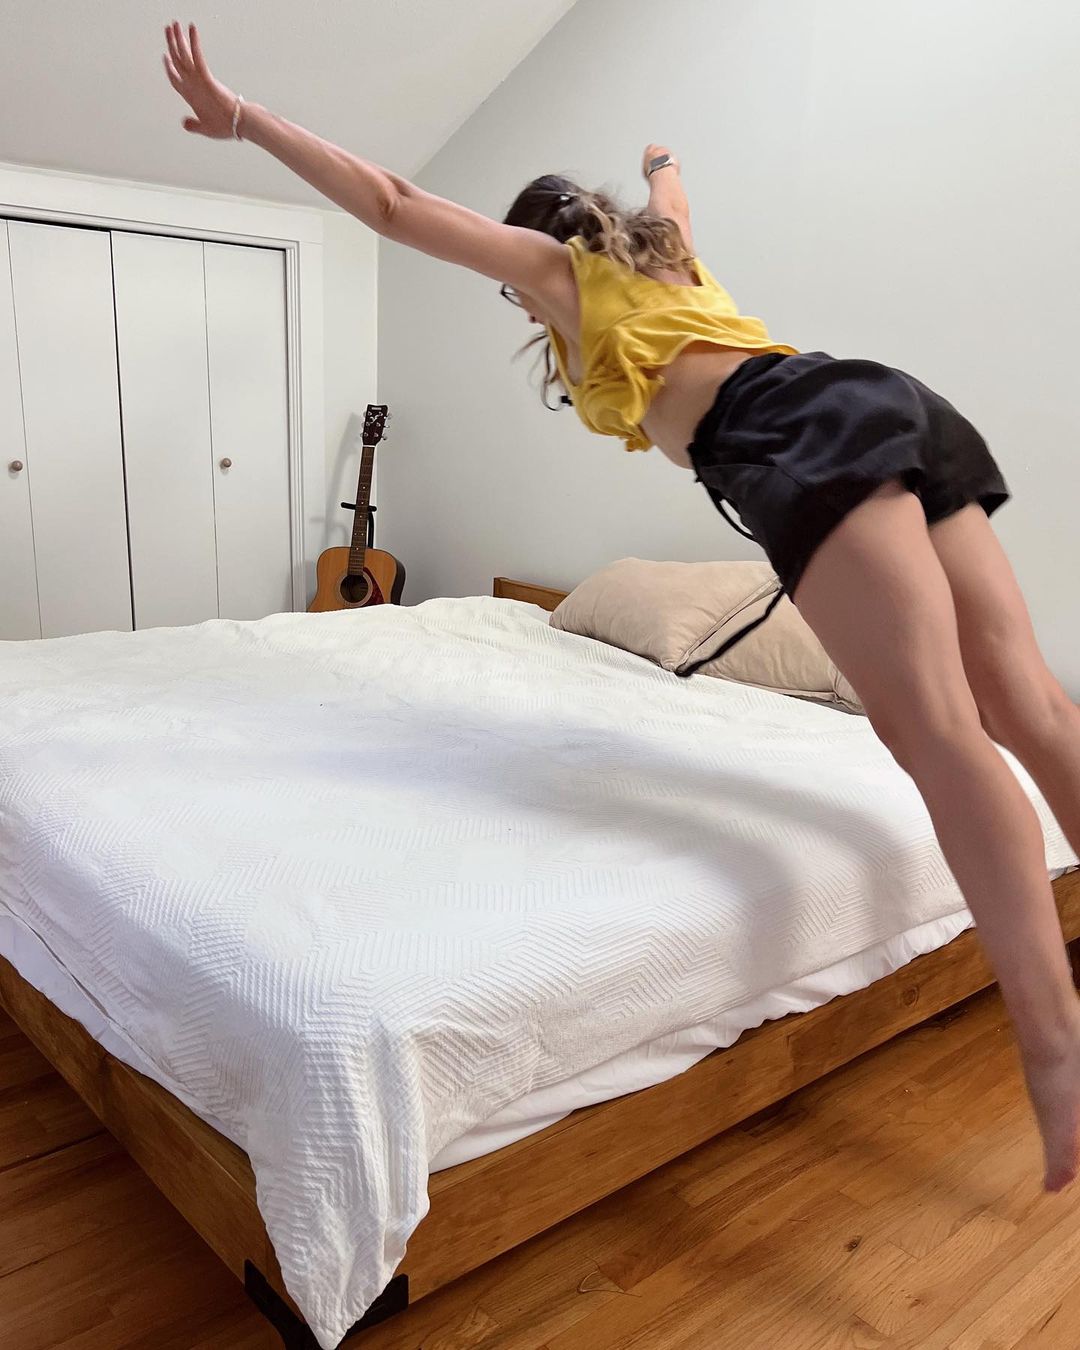
I mean, is there a better way to show my confidence in this build than this photo? This is a king-size bed, and still, as you can tell from my jump… it is rock solid! The best part is that other than the connectors, all I needed was about $100 of lumber and some stain + poly.
I hope this post makes you want to try building a bed like it!
[ad_2]
Source link